recent posts

Saturday, September 7, 2013

new and improved rear upper

I think this one is going to work.  It's just tacked together for now and I still need to add bracing, but you get the idea.


Wednesday, January 9, 2013

Rear shocks - Part1

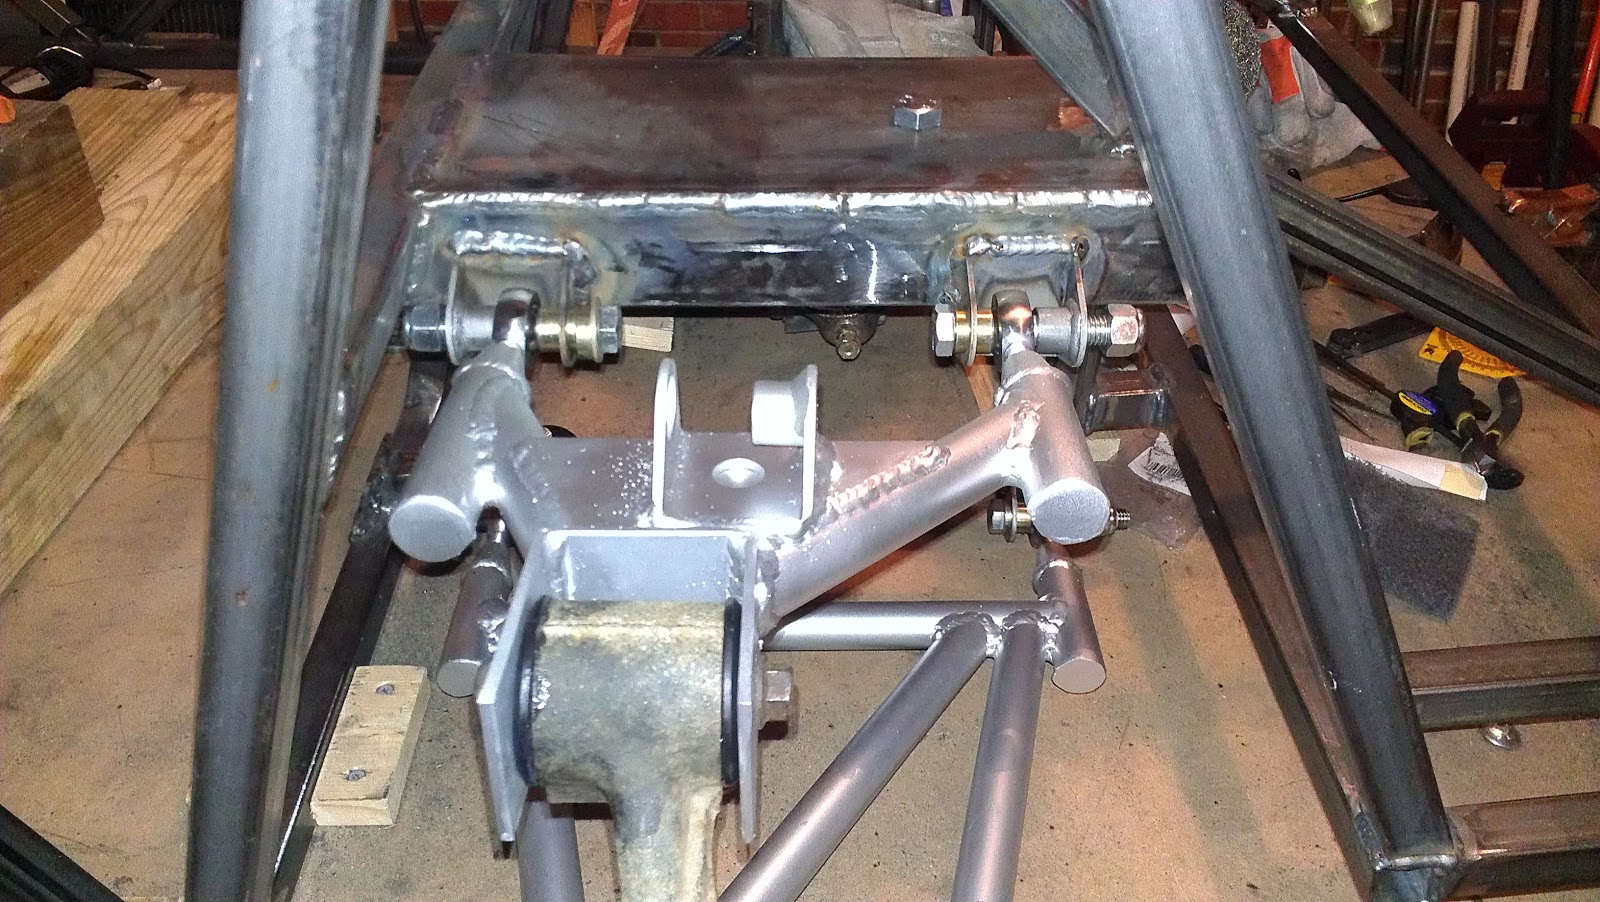
I revived my shocks that I plan to use for the rears.  QA1 82 series, 8242 is the model.  4" stroke, 9.38" compressed, 13.75" extended.  They are not going to fit between the rear upper arm and the upper mount.

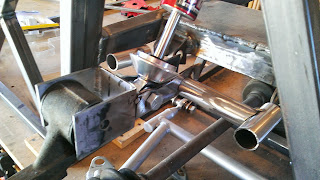
So I think I am going to weld a plate to the lower arm and weld a shock mount to that.  Then I will fab an upper mount just above the inside of the upper arm.  It looks good mocking things up.  I will post pictures when I am done.

Tuesday, January 1, 2013

Rear upper control arms - part 2

Rear upper arm in place.  Now I need to do it over again for the other side.


Sunday, December 30, 2012

Rear upper control arms

Started on the rear upper control arm.  This one is getting close to done.  Still need to add the top plate, shock mount, weld in the threaded tube ends prime and paint.


Thursday, December 27, 2012

Rear lower control arms - Part 2

 Woo hoo, one rear lower arm done.  Lots of lessons learned on this one.

Here are some tips.
  • Weld the front to rear cross brace on the inside before you add any other tubes.  It will be very hard to weld if you don't.  You can grind it down a bit before you add the other tubes.
  • Add the diagonal cross brace before you add the outer bushing tube.
  • Use tubemiter (http://www.ozhpv.org.au/shed/tubemiter.htm), print, mark tubes, then grind.


Wednesday, December 26, 2012

Rear Lower Control arms

Started on the rear lower control arms.  I made a quick jig out of 1x1.  The spacer on the outer end of the jig is 90mm to duplicate the space between the factory Miata arms.

I will be using factory Miata sized polyurethane bushing on the outside ends.  The bush tubes are 1.75" OD x 0.095" Wall.  In the jig that you will make, the bush tubes should sit flat on the work surface.

The inside ends will have threaded bungs welded in and 1/2 in rod ends will be used.  The center line of the rod ends duplicates the Haynes Roadster book.  This end of the arm is spaced 9.5mm (3/8in) off the work surface.
Check out http://www.qscomponents.com/12BungRH.html

TIP:  On the leg where the cross tube connects at the outer side of the arm, weld the bush tube last or you will never get the cross tube in.  Ask me how I figured that out.


Tuesday, December 18, 2012

The Miata deconstruction has begone.  Next time someone remind me how much easier this would be on a lift.